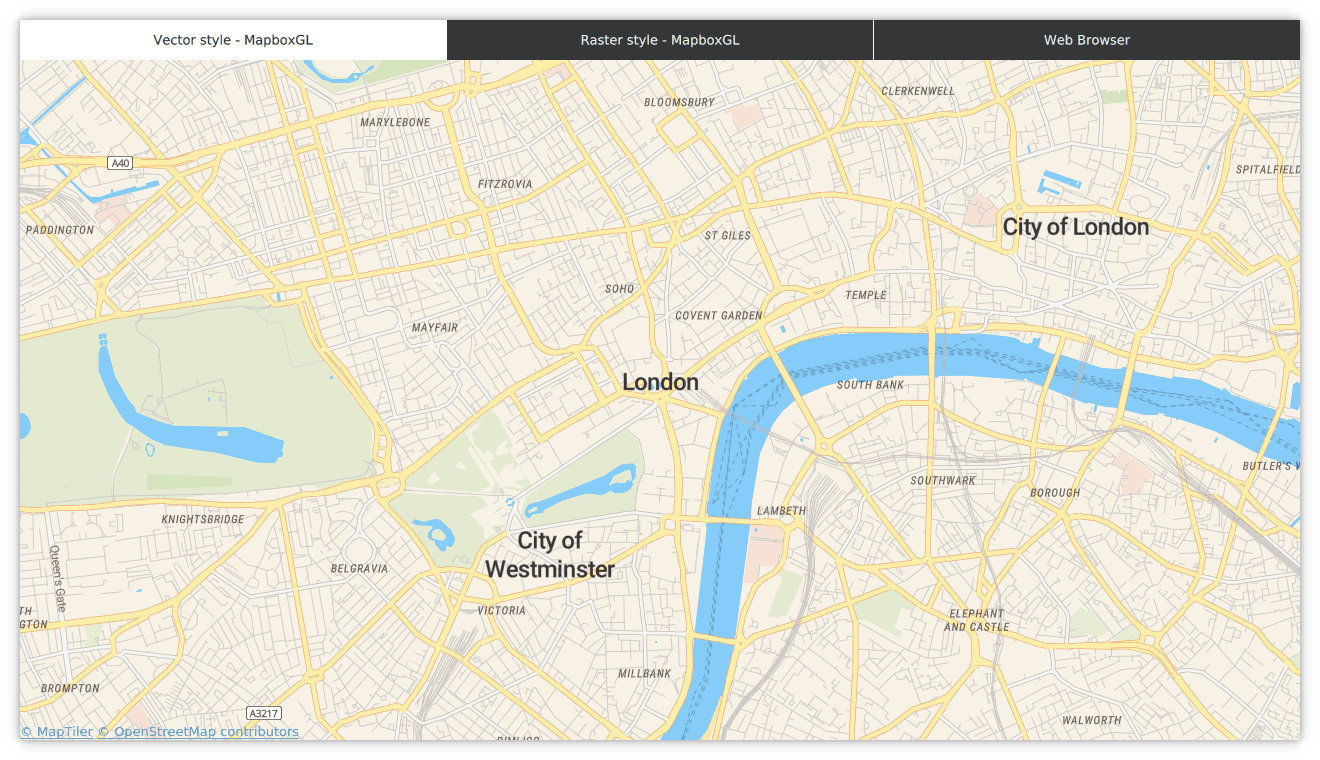
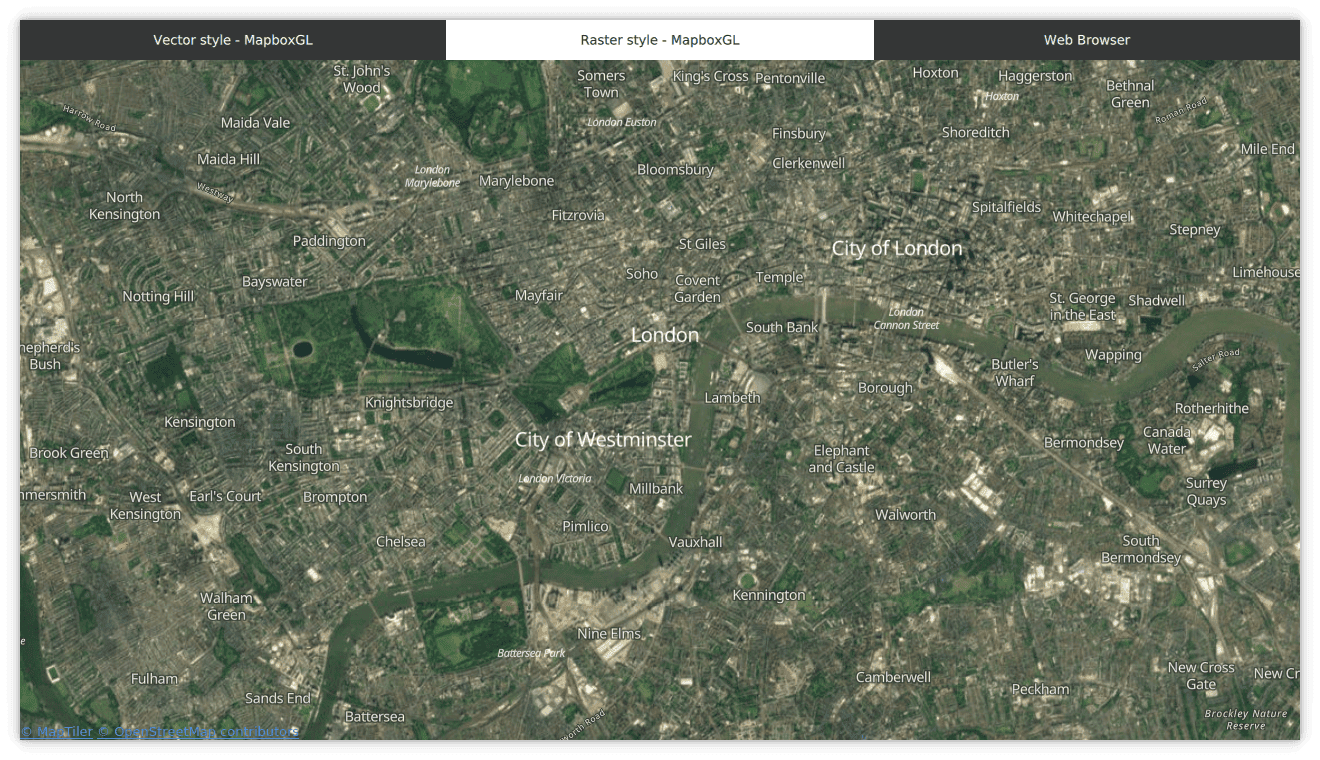
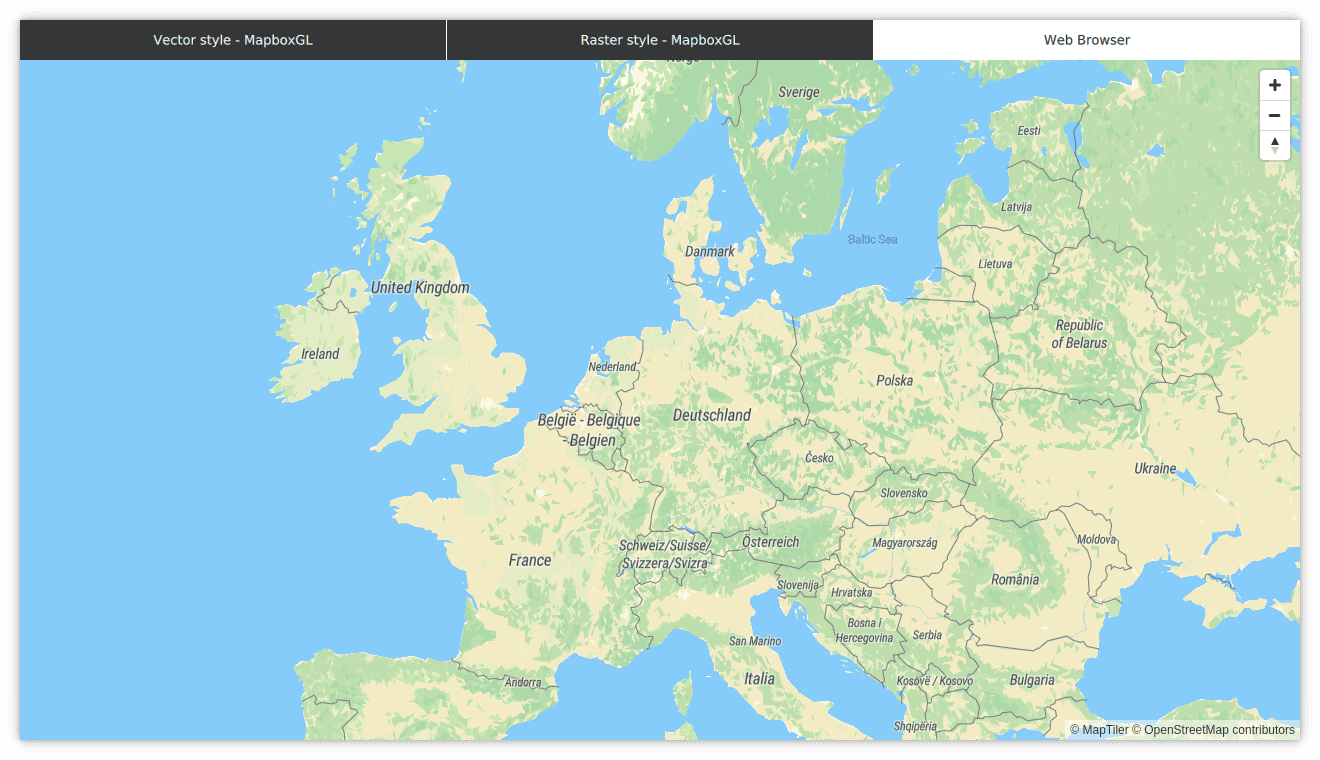
They say developing a desktop application is hard and tedious; let’s prove them wrong by developing C++/QML application using Qt 5.12 that shows several types of MapTiler streets map.
Installing Qt & QtCreator
First, you have to install Qt Framework with dev tools on your workspace. Go to https://www.qt.io/download, select OpenSource and download the online installer for your platform. Qt supports Windows, Linux & macOS.
Open the installer and install Qt 5.12 with the latest Qt Creator. Depending on your platform, you have to select the correct build environment. It is GCC on Linux/macOS, on Windows you can choose between MinGW and MSVC. I would recommend using native MSVC 2017, which you can download as part of build tools from the Microsoft website. On macOS install XCode. Linux requires valid GCC installation.
Also, uncheck Android and select Sources and all other submodules. Proceed with installation.
If you are using Windows, please note that as of Qt 5.12.1, Mapbox GL plugin used in this tutorial is available in MinGW only.
Setting up MapTiler map demo project
After successful Qt Creator installation, clone or zip/tar download our demo repository located at https://github.com/maptiler/maptiler-qml-demo.
Extract the repository and open MaptilerQML.pro using QtCreator. Qt Creator will now ask you to select the correct Qt Development kit: select Qt 5.12 and proceed. Qt will now parse the project and prepare build files.
After the process is finished, you can run the demo application simply by pressing the Run button in the bottom left corner. Now, you should see our demo application with three tabs: each tab consists of a different map viewer. Let’s inspect the source code.
C++ code
See the main.cpp file below:
#include <QGuiApplication>
#include <QQmlApplicationEngine>
#include <QApplication>
#include <QtWebEngine/QtWebEngine>

int main(int argc, char *argv[])
{
    QCoreApplication::setAttribute(Qt::AA_EnableHighDpiScaling);

    QApplication app(argc, argv);

    QtWebEngine::initialize();

    QQmlApplicationEngine engine;
    engine.load(QUrl(QStringLiteral("qrc:/qml/main.qml")));
    if (engine.rootObjects().isEmpty())
        return -1;

    return app.exec();
}
This is the default out-of-the-stock QML startup code. Before creating QApplication, we have to set all attributes like High DPI scaling for those who are using high-resolution screens.
Then we need to initialize QtWebEngine which is an embedded Chromium browser. It allows us to display all kinds of web pages directly inside our application.
The last block of our code is all about QML, where we are creating QML engine and loading our single QML file main.qml. Finally, we start QApplication main loop and that’s it for our C++ code.
QML code
Below, you can see our main.qml which contains all our QML code:
import QtQuick 2.12
import QtQuick.Window 2.12
import QtQuick.Controls 2.5
import QtQuick.Layouts 1.12
import QtWebEngine 1.8
import QtLocation 5.12
import QtPositioning 5.12

Window {
    visible: true
    width: 640
    height: 480
    title: qsTr("MapTiler QML demo")

    property string hostingKey: "<your MapTiler hosting key>"

    TabBar {
        id: bar
        width: parent.width
        TabButton {
            text: qsTr("Vector style - MapboxGL")
        }
        TabButton {
            text: qsTr("Raster style - MapboxGL")
        }
        TabButton {
            text: qsTr("Web Browser")
        }
    }

    StackLayout {
        width: parent.width
        anchors.top: bar.bottom
        anchors.bottom: parent.bottom

        currentIndex: bar.currentIndex
        Item {
            id: vectorTab

            // Our code for vector tab
        }
        Item {
            id: rasterTab

            // Our code for raster tab
        }
        Item {
            id: webBrowserTab

            // Our code for webbrowser tab
        }
    }
}
Our code starts with various Qt imports. We need to import all the modules we are going to use.
Window Component is defining our main Application window. All QML components have to be located inside the Window component. We also want to have our window shown and therefore we set the visible property to true.
Next, we set default window sizes and our window title. Now we need to set our MapTiler hosting key. You can find your hosting key after login to your MapTiler Cloud account and go to MapTiler Cloud -> Account -> Keys, you can choose whichever key you want. If you do not have MapTiler Cloud account yet, create a new one for FREE.
Finally, we define the layout of our application. The demo application is split into three tabs. Therefore we define TabBar with three items. Under our TabBar we define StackLayout so we can stack our maps on top of each other and switch between them whenever we select one of our tabs.
Switching to the currently selected tab is done by binding property currentIndex of StackLayout to currentIndex of our TabBar. In QML we address other components by using id names. Just defining id property inside our component sets that component id name. If done correctly, you can access properties of that component just by writing <component-id>.<property name>. That’s the power of using QML.
Now we can finally focus on actually displaying our maps.
Using Qt Location
Sometimes you want to display raster maps, and sometimes you want to use vector styles. With Qt and MapTiler you can, of course, do both. Let’s utilize Qt Location module for that task. Qt Location provides native OpenGL rendering of maps vectors, raster, routes, features and we can extend the functionality by implementing custom overlays, control elements, etc. Using Qt Location module, we maximize the power of Qt inside our application.
Pros
- Using the native Qt solution
- Can be connected with Qt Positioning plugin to support GeoCoding features
- Can be seamlessly extended by using other QML components to implement controls and other features
Cons
- We need to use a third-party plugin or implement custom connector
Mapbox GL Plugin vector styles
For vector styles, we will use Mapbox GL plugin. Just add Map component and insert MapboxGL plugin. Now we have to set MapTiler styles, pass the appropriate value to mapboxgl.mapping.additional_style_urls plugin parameter. Below, you can see the final code of our vector tab.
Plugin {
    id: mapPluginVector
    name: "mapboxgl"

    PluginParameter {
        name: "mapboxgl.mapping.additional_style_urls"
        value: "https://maps.tilehosting.com/styles/streets-v2/style.json?key="
               + hostingKey
    }
}

Map {
    id: mapVector

    anchors.fill: parent
    plugin: mapPluginVector
    zoomLevel: 14
}
If you are interested in exploring more, please refer to QML Map Component documentation and Qt Location Mapbox GL Plugin documentation.
Mapbox GL Plugin raster tiles
After finishing the vector style, let’s move on to raster tiles. Again, we will use Mapbox GL Plugin just with different style.json to fetch Raster tiles.
Plugin {
    id: mapPluginRaster
    name: "mapboxgl"

    PluginParameter {
        name: "mapboxgl.mapping.additional_style_urls"
        value: "https://api.maptiler.com/maps/hybrid/style.json?key=" + hostingKey
    }
}

Map {
    id: mapRaster

    anchors.fill: parent
    plugin: mapPluginRaster
    zoomLevel: 14
}
Embedding web map browser using WebEngine
We can also use embedded browser view. By setting WebEngineView, we use Chromium: setup is as simple as passing correct URL to the browser.
If you are unable to use WebEngine, swap WebEngine for WebView to use native platform browser.
You can see the code of WebBrowser tab below.
 WebEngineView {
    anchors.fill: parent
    url: "https://api.maptiler.com/maps/streets-v2/?key="
                     + hostingKey + "#1.22/-0.00000/0.00000"
}
Pros
- The most straightforward complete solution
Cons
- Embedding web browser will always cause significant performance loss in Qt Applications
- On some platforms, we cannot use Chromium in our application. However, this can be solved by switching to WebView module
- We can’t fully extend web browser, although overlays are still possible
- On deploy, we need to include Chromium binaries, which significantly increase the size

Conclusion
As you can see, creating Qt application with MapTiler hosted maps is a trivial task. It’s a matter of identifying our needs and selecting proper tools for a solution. MapTiler with Qt will provide those tools and will not bother you with unnecessary or bloated code.
