Create detailed hillshading anywhere on earth with the MapTiler Plugin and the latest version of QGIS, 3.26 Buenos Aires.
All you need is a free MapTiler Cloud account, version 3.26 of QGIS, and the MapTiler plugin. The plugin provides access to the Terrain RGB layer and a range of other vector and raster basemaps.
CREATE AN ACCOUNT HOW TO USE THE PLUGIN
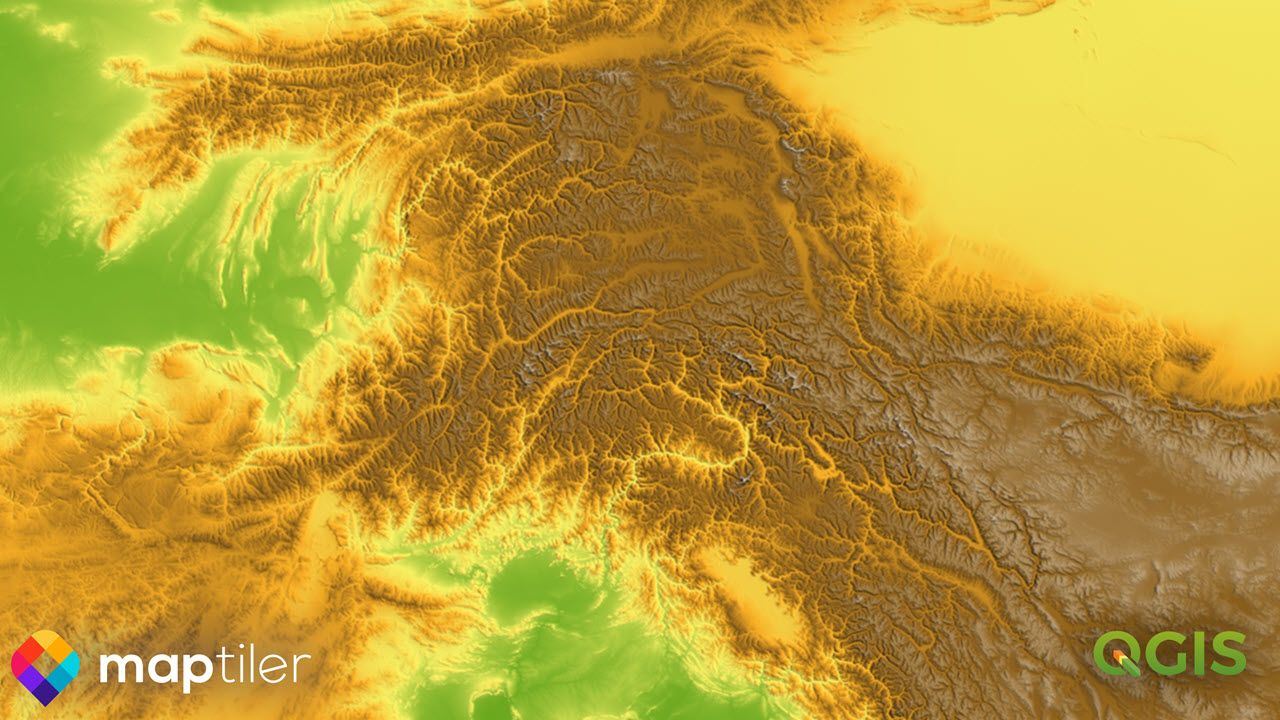
QGIS Hillshades at multiple scales
Hillshades made with the plugin look great for whole mountain ranges but are detailed enough to pick out gorges and volcanic craters. The data has a 30m resolution, and with the early resampling now available from MapTiler’s collaboration with Lutra Consulting you can now zoom in without the pixelation that occurred in earlier versions of QGIS.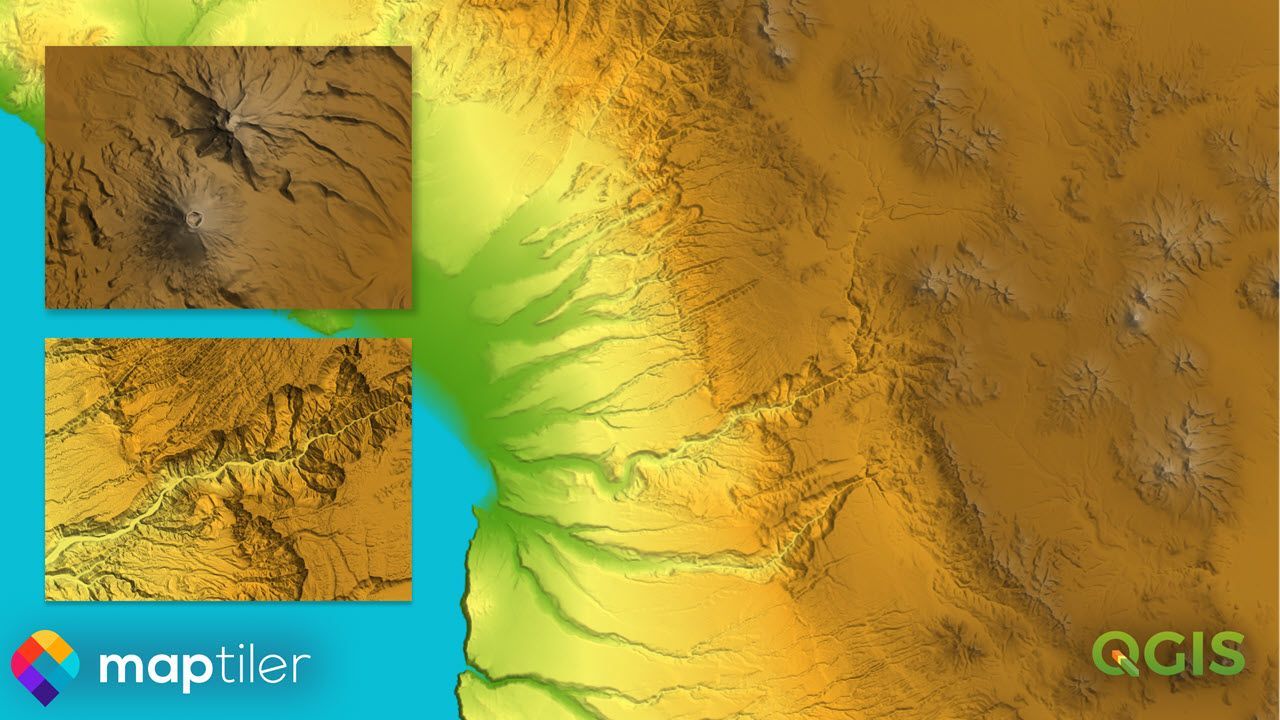 Add the Terrain RGB layer to any map in QGIS and use the Hillshading renderer to make the landscape appear on your map. Hillshading can be found in the styling panel for terrain layers, just use the dropdown menu to change from the default Singleband to Hillshading.
I recommend using the following settings to make the landforms stand out:
- Z Factor: 1.5 - to boost the effect
- Multidirectional: tick - to make a much more realistic hillshade
- Blending mode: Multiply - to add light and shadows without hiding the other layers
- Brightness and Contrast: Adjust them up to suit your layers
- Early resampling: tick - ensures the effect doesn’t pixelate as you zoom in.
Better maps for outdoor activities
The Outdoor and Winter layers available in the Plugin also benefit from the new hillshading. Not only do these layers look better than ever, you can modify the hillshading element to boost the effect or make it more subtle depending on how you want your map to look.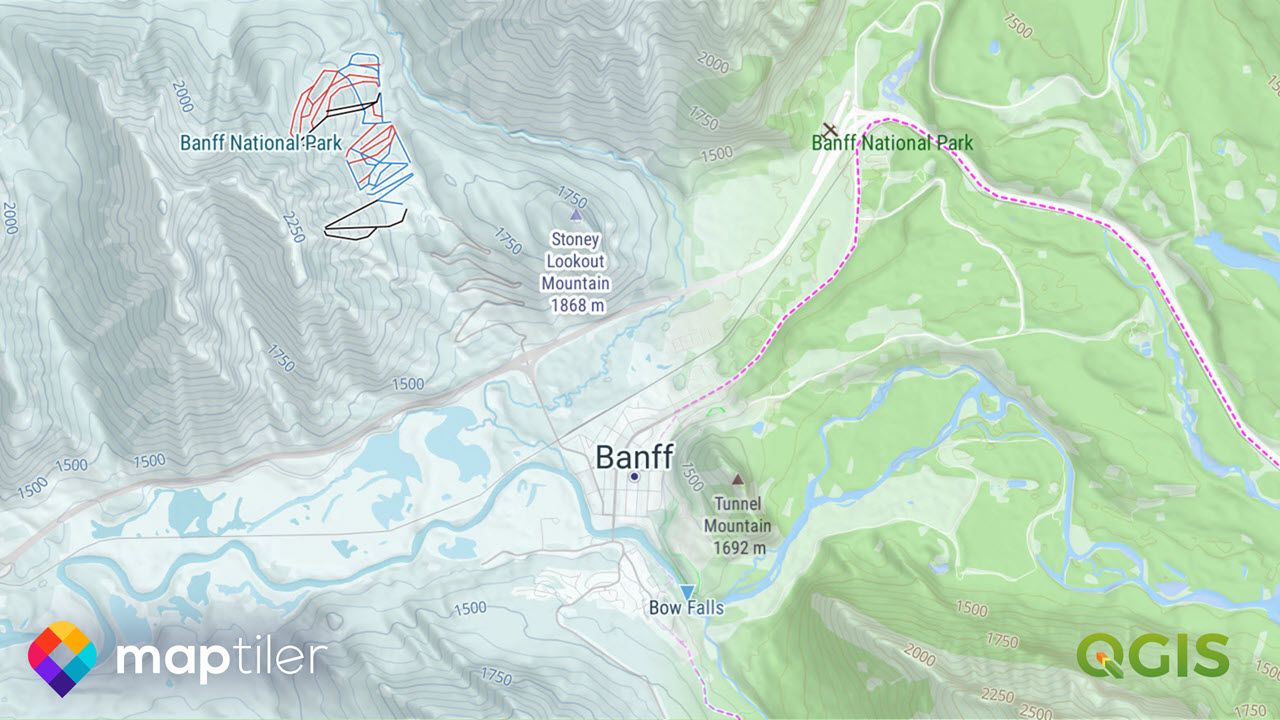
Global contour lines
Terrain RGB does not provide only great hillshading. You can use it for contours as well using the contour renderer.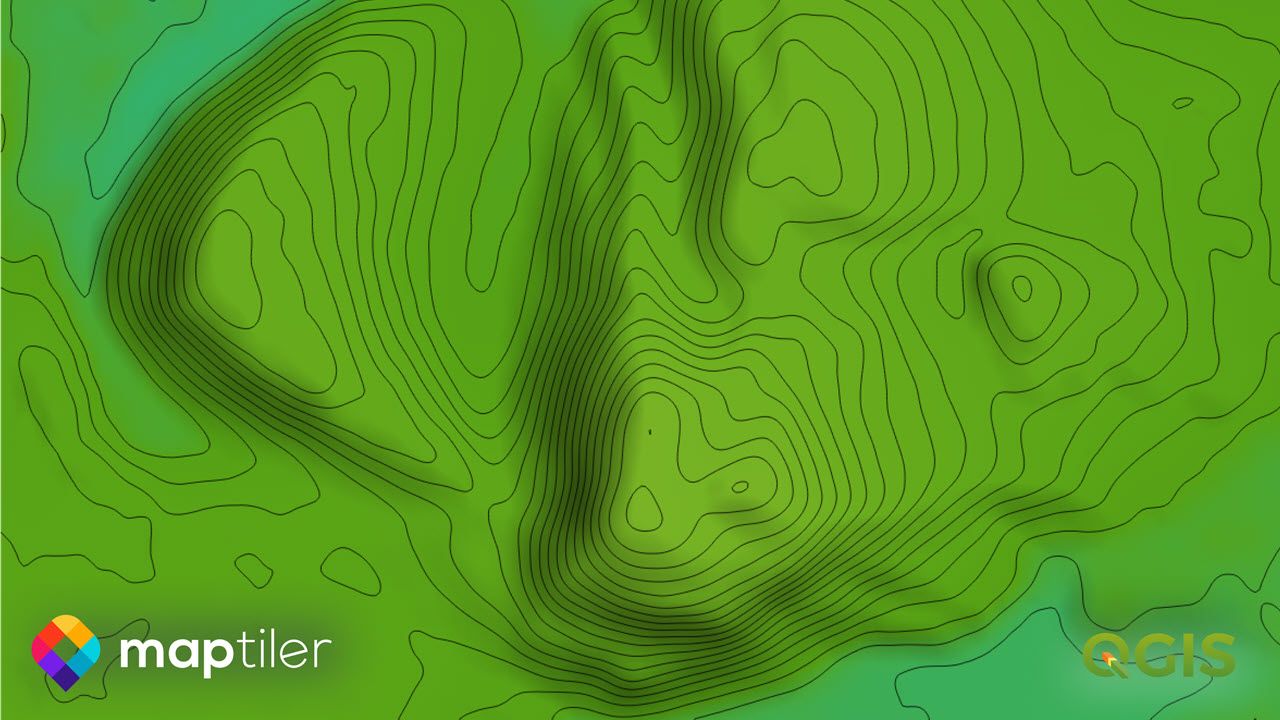 Use the same drop-down menu on the styling panel as you did with hillshading to change the rendering.
Master QGIS Hillshading Techniques at FOSS4G 2022
We will be running a workshop at FOSS4G 2022 Firenze, where you can learn more about making beautiful hillshades in QGIS: QGIS & MapTiler Workshop. As one of the sponsors of FOSS4G we also have a stand there. Make sure you drop by and find out more about our Cloud, Data, Server, and other products and opensource projects.
Setting up the plugin
Here is a quick 4 step guide to setting up the MapTiler Plugin:
- Get a MapTiler cloud account, they are free to set up and use for non-commercial purposes. Use the following link to sign up or sign in; the process is very simple and only takes a few minutes: Create Account.
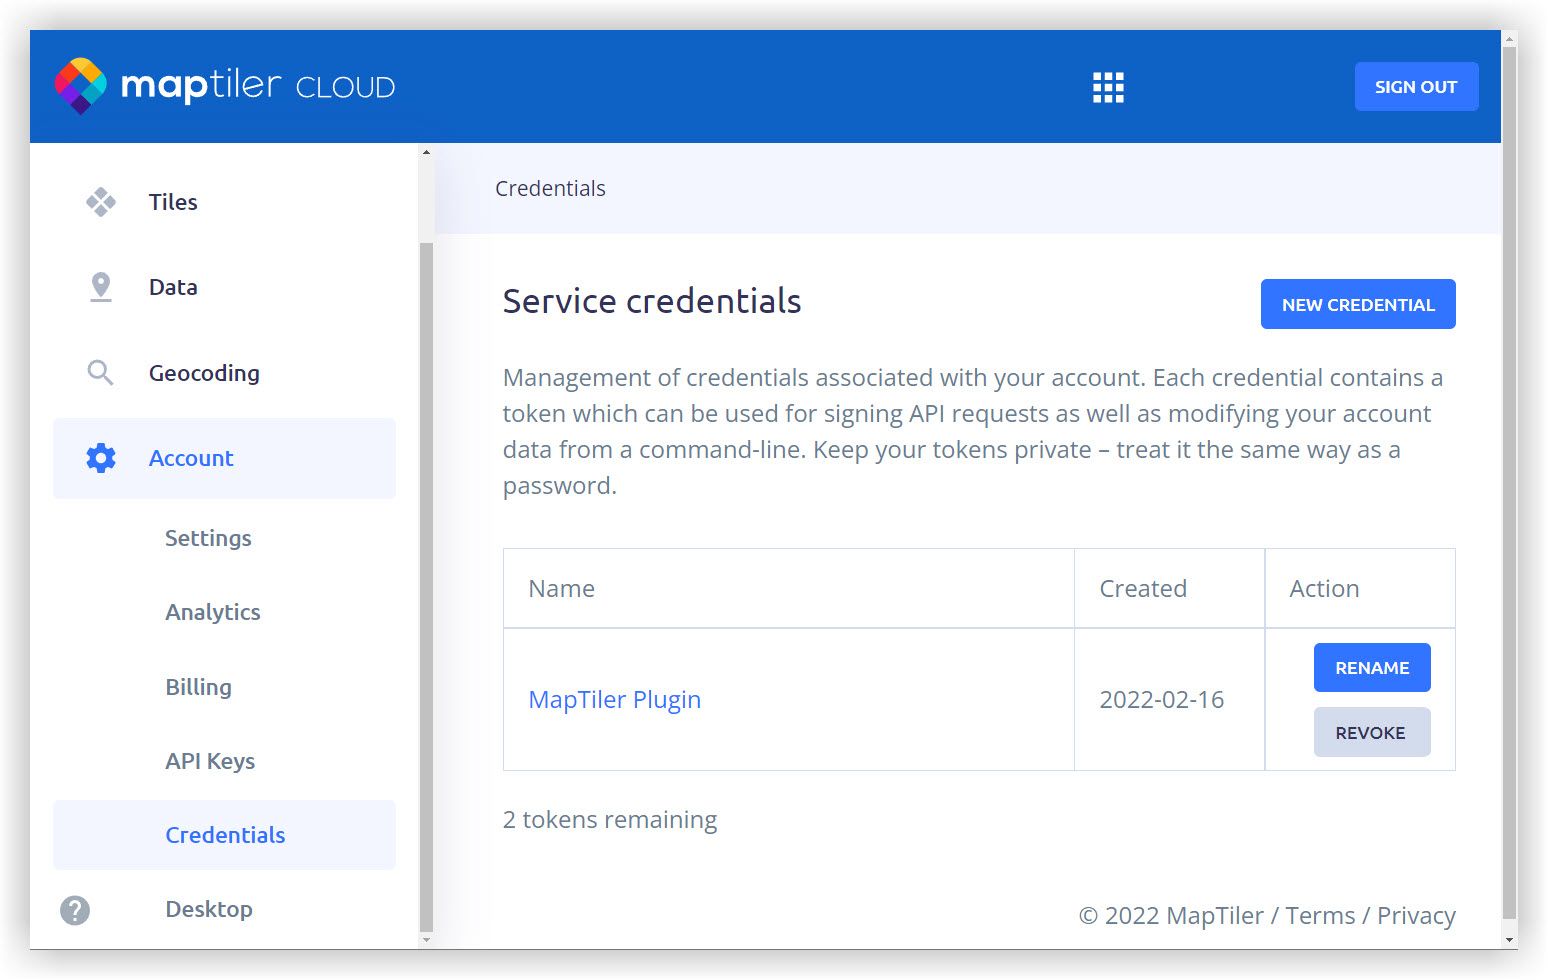
- Go to your MapTiler Cloud Account page, and click Credentials on the left of the interface. Click on the New Credential button and copy the token (keep this token private – treat it the same way as a password).
- In the MapTiler plugin, paste this token into the account dialog:
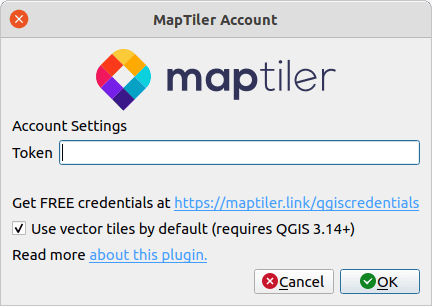
- After you paste your token, it is saved in your QGIS Authentication database, which you can control using the Authentication manager in the QGIS Options… menu.
If you haven’t used QGIS Authentication manager before, QGIS will ask you for a master authentication password. The master password is used to protect all your connection details and is used by other plugins such as Mergin. You can find out more here: QGIS Docs: Authentication Overview